
- Chris Industrial Technology company
- PRECISION BALL BEARINGS Angular Contact Ball Bearing Self-Aligning Ball Bearings
Home> Technical Articles> Wheel bearing inspection and maintenance procedures
- Address230 Paya Lebar Road #02-15, Singapore 409135
- Worktime9.00-18.00
- Phone(Working Time)Tel:(65)-3159 1338
- Fax(65)-3159 1339
Wheel bearing inspection and maintenance procedures
2018-10-27 12:30:10
Checking steps:
1 When checking the tightness of the hub bearing, firstly, the axle of the wheel at one end of the wheel to be inspected is erected, and the vehicle is safely framed with a stand, a car, and the like.
2 Turn the wheel to be inspected by hand several times to see if the rotation is stable and there is abnormal noise. If the rotation is not smooth and there is friction, the brake part is not normal; if there is no noise but the rotation is not smooth and it is loose when it is tight, the bearing part is abnormal. When the above abnormality occurs, the hub should be removed. For small cars, when inspecting the wheel bearing, hold the upper and lower sides of the tire with both hands, and pull the tire back and forth with both hands, repeating it several times. If it is normal, there should be no feeling of looseness and blockage; if it is swaying, it should be disassembled.
3 Check the brakes. Usually, the wheel brakes are checked when inspecting the hub bearings. If there is oil on the inside of the tire, it may be caused by oil leakage from the brake cylinder or brake hose. The cause should be identified and eliminated.
1 Remove the decorative cover of the hub axle head and the dust cover.
2 Remove the tire nut and tire (be careful not to damage the thread of the tire bolt). If it is a disc brake, remove the brake and remove the lock ring or lock pin with a pair of pliers.
3 Use a special tool to remove the hub, and scrape off the old grease in the bearing, journal and hub cavity, clean the hub bearing and journal with a cleaning agent and wipe dry with a cloth, and wipe the inner cavity of the hub with a cloth.
4 Check the hub bearing and bearing race. Bearings should be replaced when cracks, fatigue flaking and loose bearing balls are found. If there is a pitting on the bearing race, the bearing should also be replaced.
5 Check the fit of the inner diameter of the bearing to the journal, and the clearance should be no more than 0.1 mm. When measuring the journal, it should be measured at the upper and lower parts perpendicular to the ground, where it is the most worn. If the fit clearance exceeds the specified service limit, the bearing should be replaced to restore the normal fit clearance. Do not allow burrs on the journal to puncture the gap.
6 After all the parts meet the requirements, apply the grease to the inner bearing and put it into the hub.
7 When applying grease to the bearing cavity, squeeze the grease into the bearing until the grease emerges from the other side of the bearing. Apply a thin layer of grease to the hub cavity and the shaft cap to prevent rust. Note: Do not apply too much grease in the hub cavity, otherwise it will affect heat dissipation and braking.
8 Put the hub and outer bearing back on the journal, screw the shaft adjusting nut by hand, and then tighten the adjusting nut with the shaft wrench according to the specified torque. After tightening the nut, turn the hub a few times to the left and right (on the one hand, look at the bearing installation; on the other hand, by rotating, the bearing and the seat are properly matched). At this time, the bearing tightness should be appropriate, the wheel rotation should be free, and the axial clearance is not felt.
9 Install the locking piece, fixing nut, tire, dust cover and decorative cover in sequence.
After the 10 wheel hub bearing is adjusted, drive for about 10 kilometers, stop the car and check the temperature of the hub by hand. If it is hot, it will be adjusted too tightly for the bearing. It should be re-adjusted to properly loosen the bearing tightness.
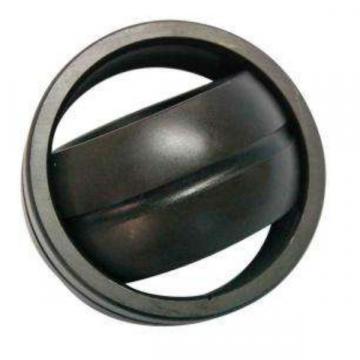 TUP1 12.25 CX 10 Solutions Plain Bearing
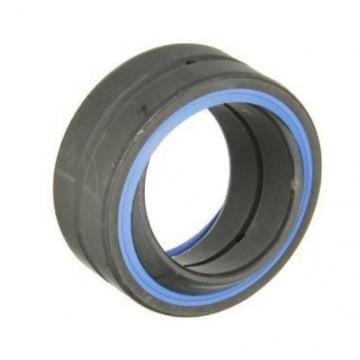 TUP2 250.80 CX 10 Solutions Plain Bearing
 TUP1 140.80 CX 10 Solutions Plain Bearing
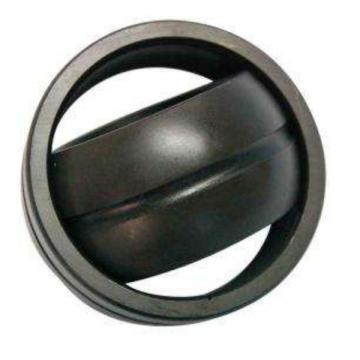 TUP2 240.60 CX 10 Solutions Plain Bearing
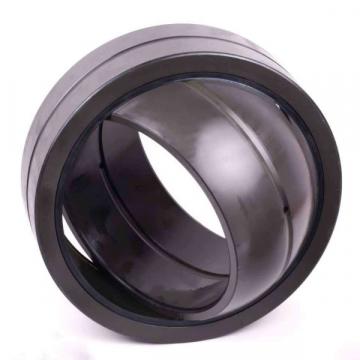 TUP1 130.80 CX 10 Solutions Plain Bearing